

This was the first year I attended Kernel Recipes and I have nothing but say how much I enjoyed it and how grateful I’m for the opportunity to talk more about kworkflow to very experienced kernel developers. What I mostly like about Kernel Recipes is its intimate format, with only one track and many moments to get closer to experts and people that you commonly talk online during your whole year.
In the beginning of this year, I gave the talk Don’t let your motivation go, save time with kworkflow at FOSDEM, introducing kworkflow to a more diversified audience, with different levels of involvement in the Linux kernel development.
At this year’s Kernel Recipes I presented the second talk of the first day: Kworkflow - mix & match kernel recipes end-to-end.
The Kernel Recipes audience is a bit different from FOSDEM, with mostly long-term kernel developers, so I decided to just go directly to the point. I showed kworkflow being part of the daily life of a typical kernel developer from the local setup to install a custom kernel in different target machines to the point of sending and applying patches to/from the mailing list. In short, I showed how to mix and match kernel workflow recipes end-to-end.
As I was a bit fast when showing some features during my presentation, in this blog post I explain each slide from my speaker notes. You can see a summary of this presentation in the Kernel Recipe Live Blog Day 1: morning.
Introduction
Hi, I’m Melissa Wen from Igalia. As we already started sharing kernel recipes and even more is coming in the next three days, in this presentation I’ll talk about kworkflow: a cookbook to mix & match kernel recipes end-to-end.
This is my first time attending Kernel Recipes, so lemme introduce myself briefly.
- As I said, I work for Igalia, I work mostly on kernel GPU drivers in the DRM subsystem.
- In the past, I co-maintained VKMS and the v3d driver. Nowadays I focus on the AMD display driver, mostly for the Steam Deck.
- Besides code, I contribute to the Linux kernel by mentoring several newcomers in Outreachy, Google Summer of Code and Igalia Coding Experience. Also, by documenting and tooling the kernel.

And what’s this cookbook called kworkflow?
Kworkflow (kw)
Kworkflow is a tool created by Rodrigo Siqueira, my colleague at Igalia. It’s a single platform that combines software and tools to:
- optimize your kernel development workflow;
- reduce time spent in repetitive tasks;
- standardize best practices;
- ensure that deployment data flows smoothly and reliably between different kernel workflows;
It’s mostly done by volunteers, kernel developers using their spare time. Its features cover real use cases according to kernel developer needs.
Basically it’s mixing and matching the daily life of a typical kernel developer with kernel workflow recipes with some secret sauces.
First recipe: A good GPU driver for my AMD laptop

So, it’s time to start the first recipe: A good GPU driver for my AMD laptop.
Before starting any recipe we need to check the necessary ingredients and tools. So, let’s check what you have at home.
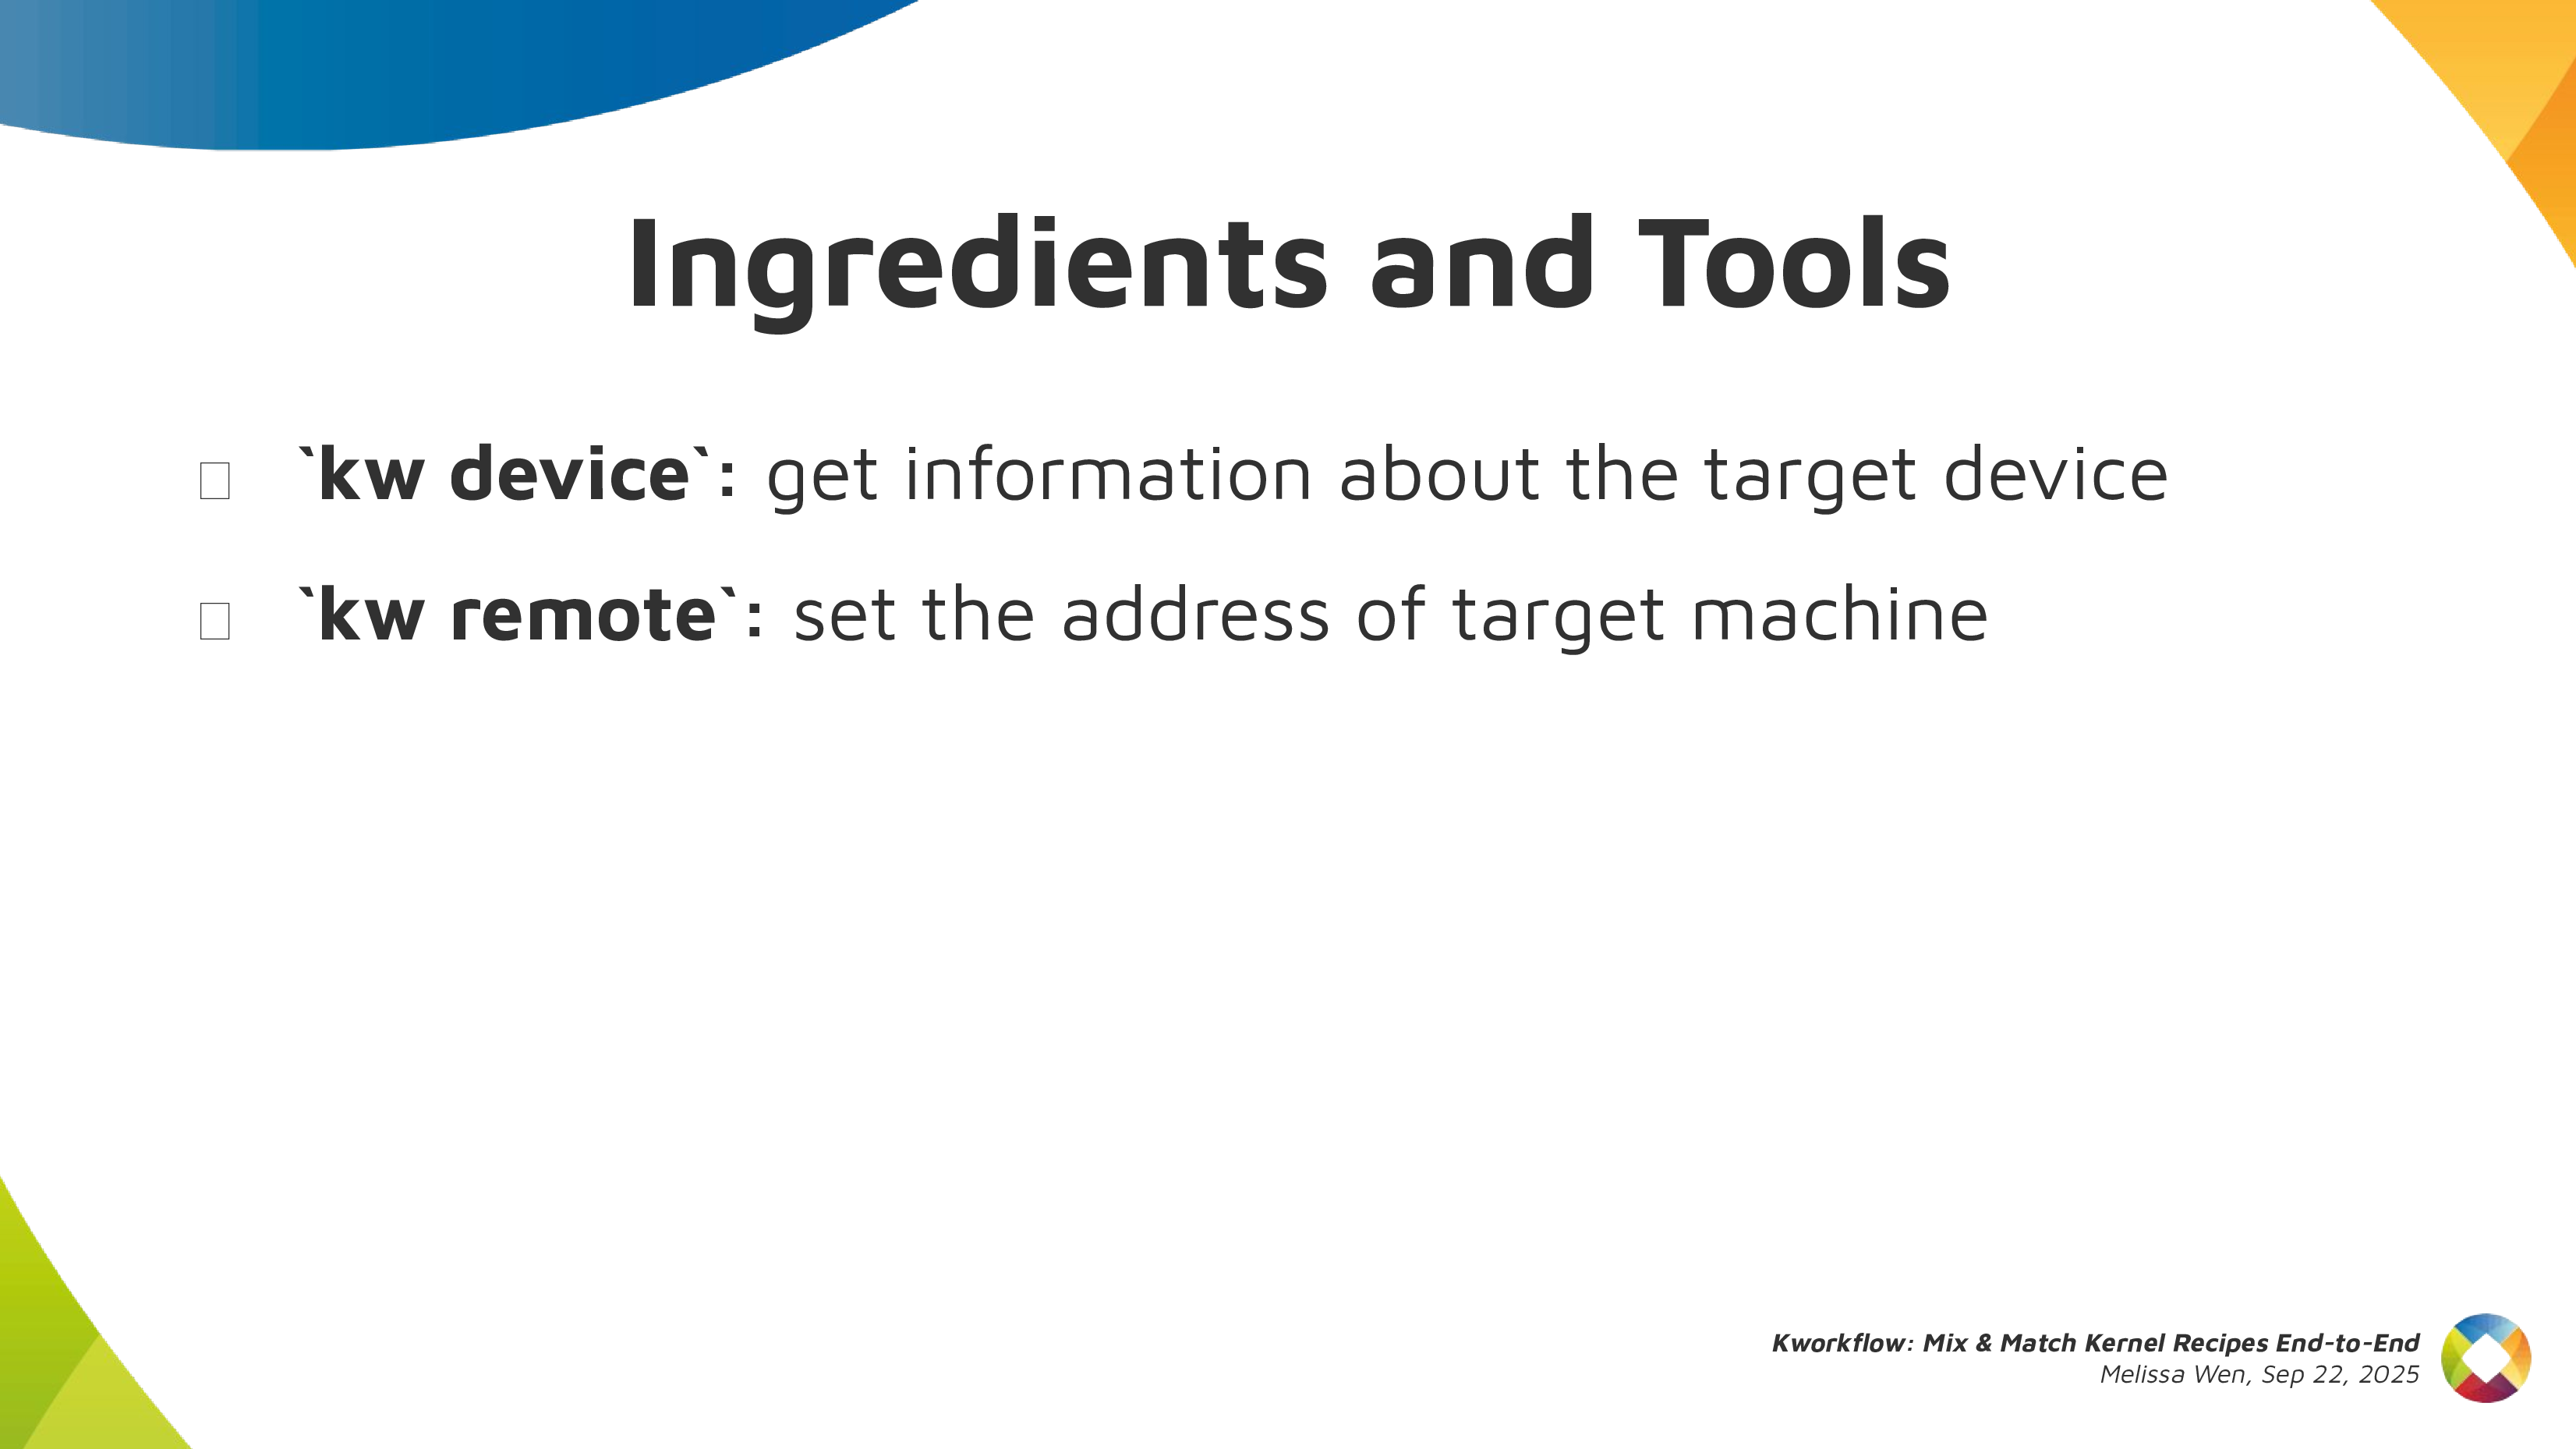
With kworkflow, you can use:
-
kw device: to get information about the target machine, such as: CPU model, kernel version, distribution, GPU model, -
kw remote: to set the address of this machine for remote access

kw config: you can configure kw with kw config. With this command you can basically select the tools, flags and preferences that kw will use to build and deploy a custom kernel in a target machine. You can also define recipients of your patches when sending it using kw send-patch. I’ll explain more about each feature later in this presentation.
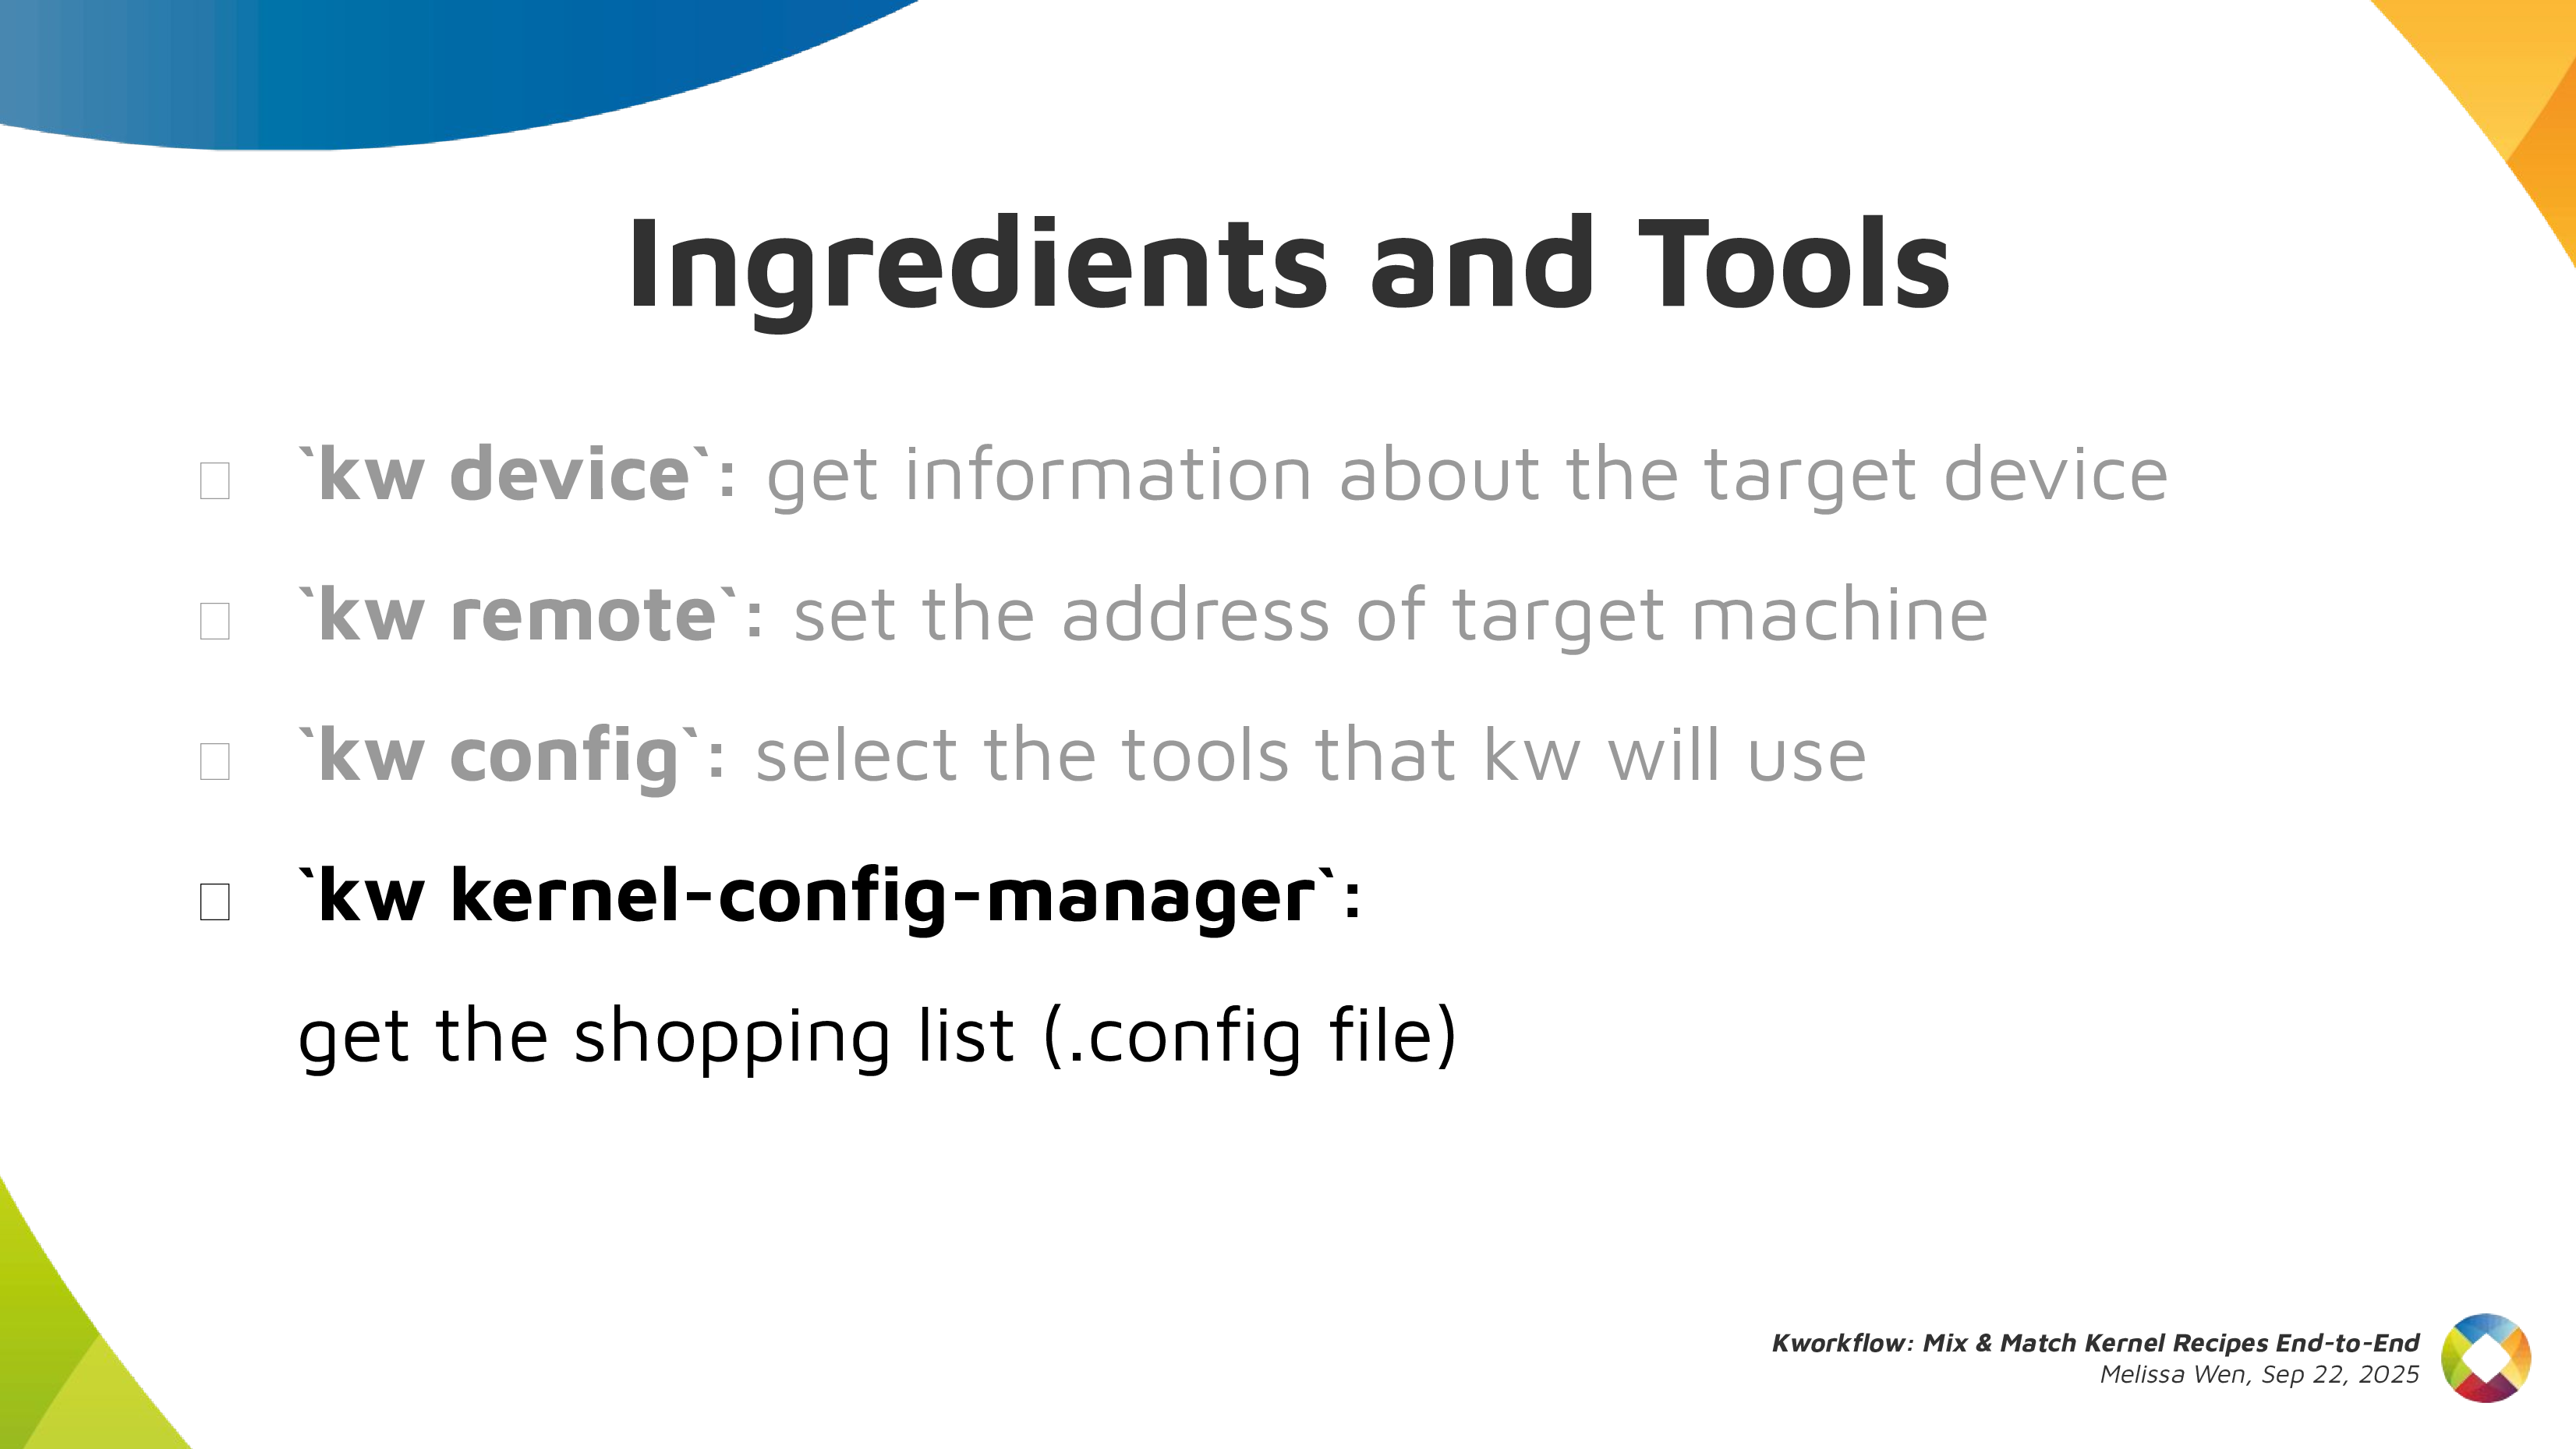
kw kernel-config manager(or justkw k): to fetch the kernel .config file from a given machine, store multiple .config files, list and retrieve them according to your needs.

Now, with all ingredients and tools selected and well portioned, follow the right steps to prepare your custom kernel!
First step: Mix ingredients with kw build or just kw b

kw band its options wrap many routines of compiling a custom kernel.- You can run
kw b -ito check the name and kernel version and the number of modules that will be compiled andkw b --menuto change kernel configurations. - You can also pre-configure compiling preferences in kw config regarding kernel building. For example, target architecture, the name of the generated kernel image, if you need to cross-compile this kernel for a different system and which tool to use for it, setting different warning levels, compiling with CFlags, etc.
- Then you can just run
kw bto compile the custom kernel for a target machine.
- You can run
Second step: Bake it with kw deploy or just kw d

After compiling the custom kernel, we want to install it in the target machine.
Check the name of the custom kernel built: 6.17.0-rc6 and with kw s SSH
access the target machine and see it’s running the kernel from the Debian
distribution 6.16.7+deb14-amd64.
As with building settings, you can also pre-configure some deployment settings, such as compression type, path to device tree binaries, target machine (remote, local, vm), if you want to reboot the target machine just after deploying your custom kernel, and if you want to boot in the custom kernel when restarting the system after deployment.
If you didn’t pre-configured some options, you can still customize as a command
option, for example: kw d --reboot will reboot the system after deployment,
even if I didn’t set this in my preference.
With just running kw d --reboot I have installed the kernel in a given target
machine and rebooted it. So when accessing the system again I can see it was
booted in my custom kernel.
Third step: Time to taste with kw debug
kw debugwraps many tools for validating a kernel in a target machine. We can log basic dmesg info but also tracking events and ftrace.- With
kw debug --dmesg --historywe can grab the full dmesg log from a remote machine, if you use the--followoption, you will monitor dmesg outputs. You can also run a command withkw debug --dmesg --cmd="<my command>"and just collect the dmesg output related to this specific execution period. - In the example, I’ll just unload the amdgpu driver. I use
kw drm
--gui-off
to drop the graphical interface and release the amdgpu for unloading it. So I runkw debug --dmesg --cmd="modprobe -r amdgpu"to unload the amdgpu driver, but it fails and I couldn’t unload it.
- With
Cooking Problems

Oh no! That custom kernel isn’t tasting good. Don’t worry, as in many recipes preparations, we can search on the internet to find suggestions on how to make it tasteful, alternative ingredients and other flavours according to your taste.
With kw patch-hub you can search on the lore kernel mailing list for possible
patches that can fix your kernel issue. You can navigate in the mailing lists,
check series, bookmark it if you find it relevant and apply it in your local
kernel tree, creating a different branch for tasting… oops, for testing. In
this example, I’m opening the amd-gfx mailing list where I can find
contributions related to the AMD GPU driver, bookmark and/or just apply the
series to my work tree and with kw bd I can compile & install the custom kernel
with this possible bug fix in one shot.
As I changed my kw config to reboot after deployment, I just need to wait for
the system to boot to try again unloading the amdgpu driver with kw debug
--dmesg --cm=modprobe -r amdgpu. From the dmesg output retrieved by kw for
this command, the driver was unloaded, the problem is fixed by this series and
the kernel tastes good now.
If I’m satisfied with the solution, I can even use kw patch-hub to access the
bookmarked series and marking the checkbox that will reply the patch thread
with a Reviewed-by tag for me.
Second Recipe: Raspberry Pi 4 with Upstream Kernel

As in all recipes, we need ingredients and tools, but with kworkflow you can get everything set as when changing scenarios in a TV show. We can use kw env to change to a different environment with all kw and kernel configuration set and also with the latest compiled kernel cached.
I was preparing the first recipe for a x86 AMD laptop and with kw env --use
RPI_64 I use the same worktree but moved to a different kernel workflow, now
for Raspberry Pi 4 64 bits. The previous compiled kernel 6.17.0-rc6-mainline+
is there with 1266 modules, not the 6.17.0-rc6 kernel with 285 modules that I
just built&deployed. kw build settings are also different, now I’m targeting
a arm64 architecture with a cross-compiled kernel using aarch64-linu-gnu-
cross-compilation tool and my kernel image calls kernel8 now.
If you didn’t plan for this recipe in advance, don’t worry. You can create a
new environment with kw env --create RPI_64_V2 and run kw init --template
to start preparing your kernel recipe with the mirepoix ready.
I mean, with the basic ingredients already cut…
I mean, with the kw configuration set from a template.
And you can use kw remote to set the IP address of your target machine and
kw kernel-config-manager to fetch/retrieve the .config file from your target
machine. So just run kw bd to compile and install a upstream kernel for
Raspberry Pi 4.
Third Recipe: The Mainline Kernel Ringing on my Steam Deck (Live Demo)

Let’s show you how easy is to build, install and test a custom kernel for Steam Deck with Kworkflow. It’s a live demo, but I also recorded it because I know the risks I’m exposed to and something can go very wrong just because of reasons :)
Report: how was the live demo
For this live demo, I took my OLED Steam Deck to the stage. I explained that, if I boot mainline kernel on this device, there is no audio. So I turned it on and booted the mainline kernel I’ve installed beforehand. It was clear that there was no typical Steam Deck startup audio when the system was loaded.

As I started the demo in the kw environment for Raspberry Pi 4, I first moved to another environment previously used for Steam Deck. In this STEAMDECK environment, the mainline kernel was already compiled and cached, and all settings for accessing the target machine, compiling and installing a custom kernel were retrieved automatically.
My live demo followed these steps:
-
With
kw env --use STEAMDECK, switch to a kworkflow environment for Steam Deck kernel development. -
With
kw b -i, shows that kw will compile and install a kernel with 285 modules named6.17.0-rc6-mainline-for-deck. -
Run
kw configto show that, in this environment, kw configuration changes to x86 architecture and without cross-compilation. -
Run
kw deviceto display information about the Steam Deck device, i.e. the target machine. It also proves that the remote access - user and IP - for this Steam Deck was already configured when using the STEAMDECK environment, as expected. -
Using
git am, as usual, apply a hot fix on top of the mainline kernel. This hot fix makes the audio play again on Steam Deck. -
With
kw b, build the kernel with the audio change. It will be fast because we are only compiling the affected files since everything was previously done and cached. Compiled kernel, kw configuration and kernel configuration is retrieved by just moving to the “STEAMDECK” environment. -
Run
kw d --force --rebootto deploy the new custom kernel to the target machine. The--forceoption enables us to install the mainline kernel even if mkinitcpio complains about missing support for downstream packages when generating initramfs. The--rebootoption makes the device reboot the Steam Deck automatically, just after the deployment completion. -
After finishing deployment, the Steam Deck will reboot on the new custom kernel version and made a clear resonant or vibrating sound. [Hopefully]
Finally, I showed to the audience that, if I wanted to send this patch
upstream, I just needed to run kw send-patch and kw would automatically add
subsystem maintainers, reviewers and mailing lists for the affected files as
recipients, and send the patch to the upstream community assessment. As I
didn’t want to create unnecessary noise, I just did a dry-run with kw
send-patch -s --simulate to explain how it looks.
What else can kworkflow already mix & match?
In this presentation, I showed that kworkflow supported different kernel development workflows, i.e., multiple distributions, different bootloaders and architectures, different target machines, different debugging tools and automatize your kernel development routines best practices, from development environment setup and verifying a custom kernel in bare-metal to sending contributions upstream following the contributions-by-e-mail structure. I exemplified it with three different target machines: my ordinary x86 AMD laptop with Debian, Raspberry Pi 4 with arm64 Raspbian (cross-compilation) and the Steam Deck with SteamOS (x86 Arch-based OS). Besides those distributions, Kworkflow also supports Ubuntu, Fedora and PopOS.
Now it’s your turn: Do you have any secret recipes to share? Please share with us via kworkflow.